Vault
nanos world Vault is in-game interface to download and manage installed Asset Packs & Packages.
About the Vault
Within the game, we have a menu tab called Vault, where you will be able to download, update and manage the Packages/Assets you have in your account or installed locally, as well as browse the whole store!
The Vault provides filtering options to help you find the Resources you are looking for, including filtering by tags, categories, popularity, and more.
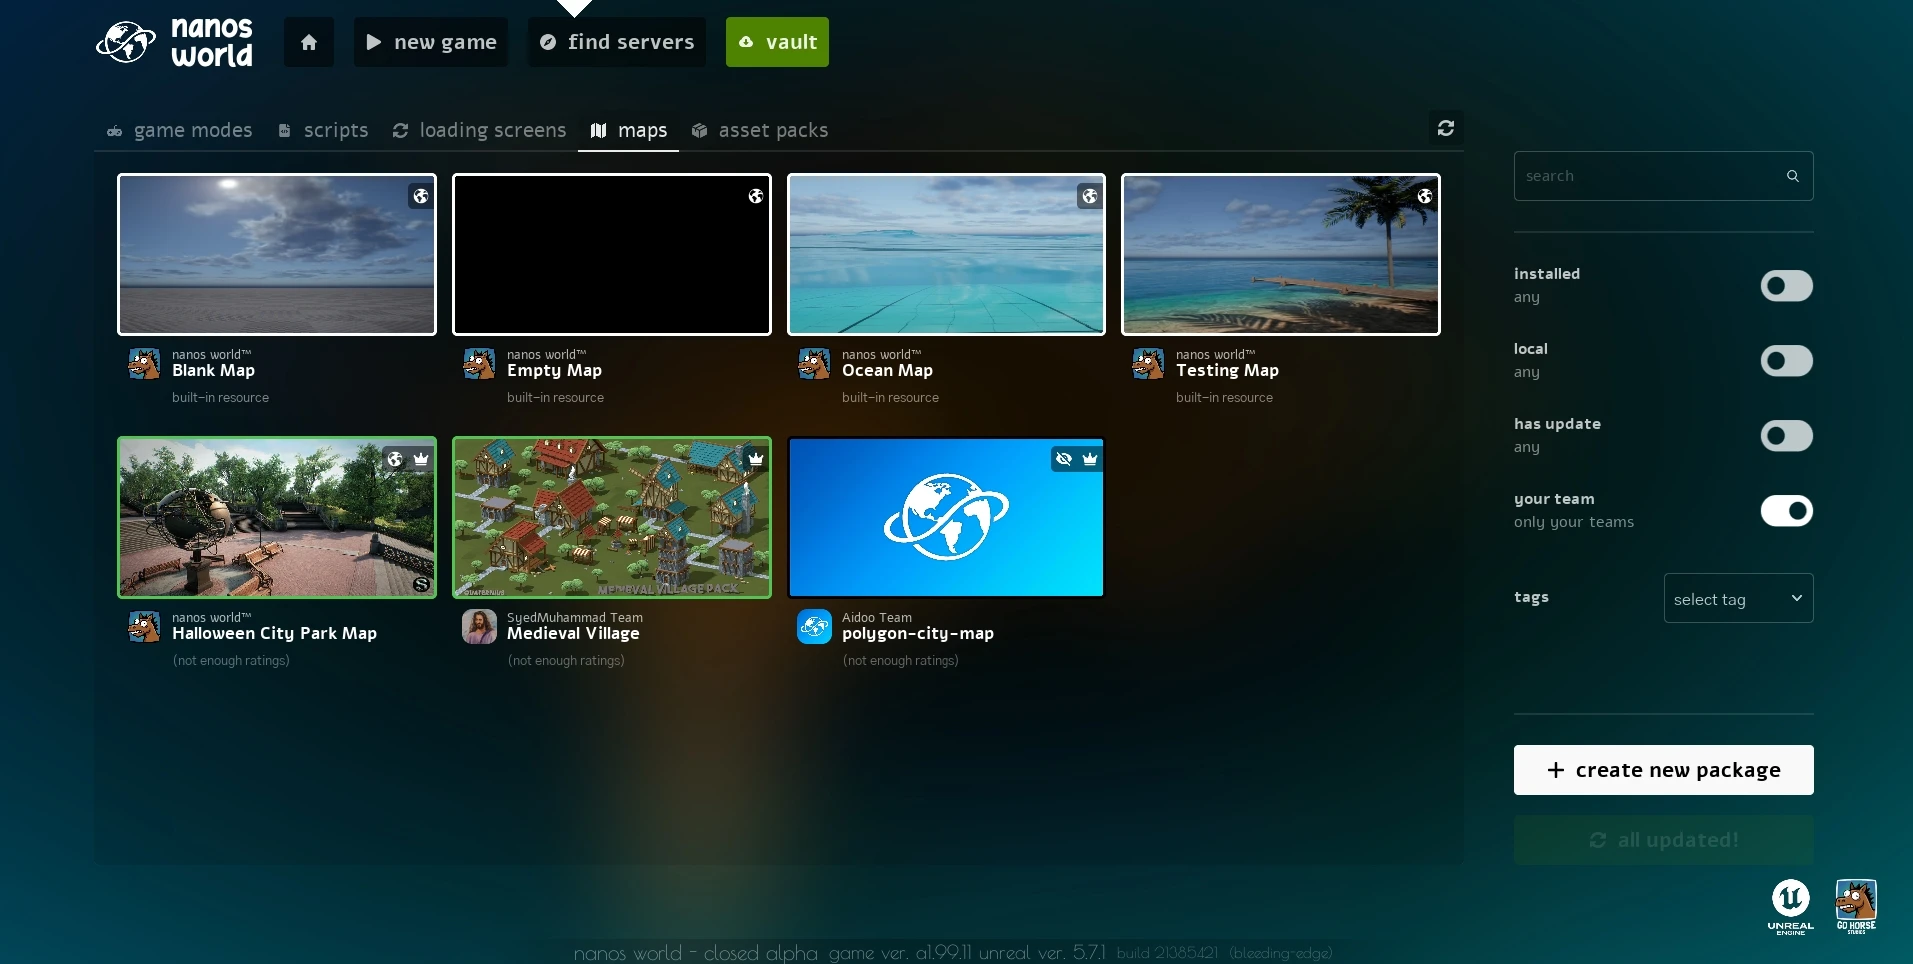
In-game Vault Tab
Resources
A Resource is the term we use to refer to any Asset Pack or Package that is available in the Store & Vault. From the Vault, you can view Resource details, download them, manage your own (or your Team's) Resources and more.
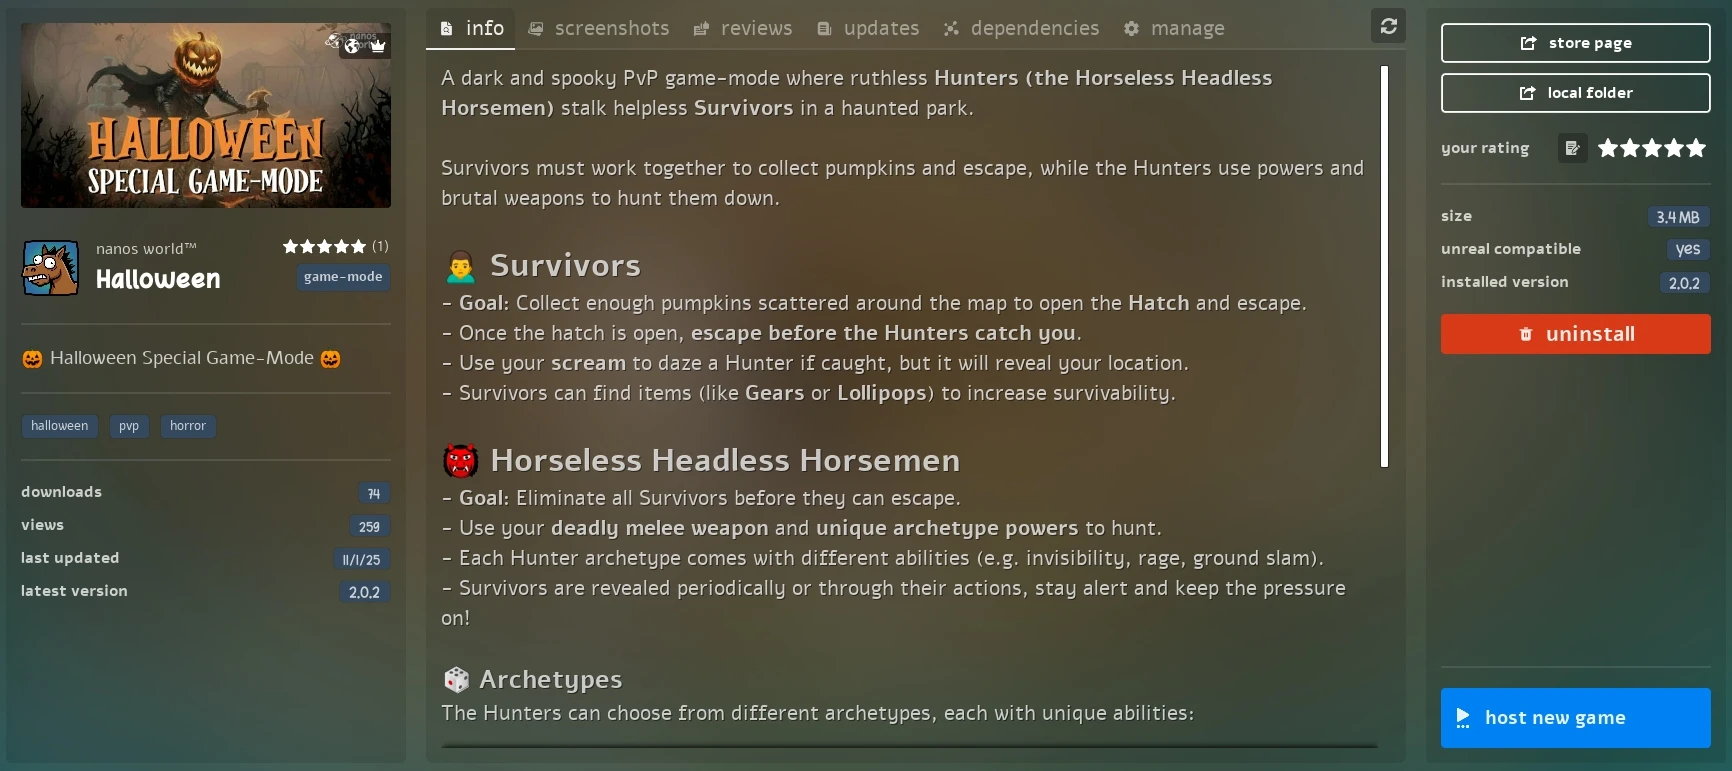
Vault Resource Info Tab
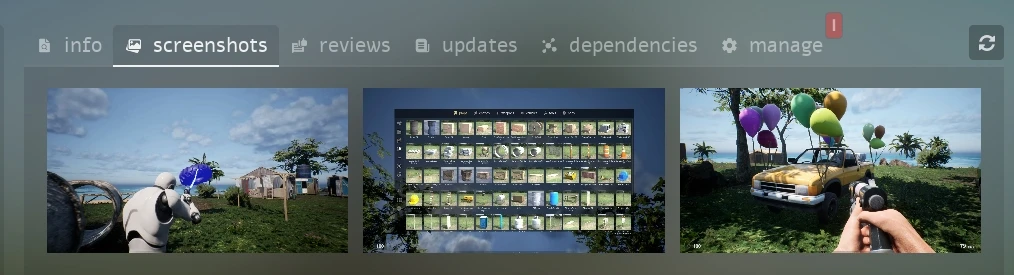
Vault Resource Screenshots Tab
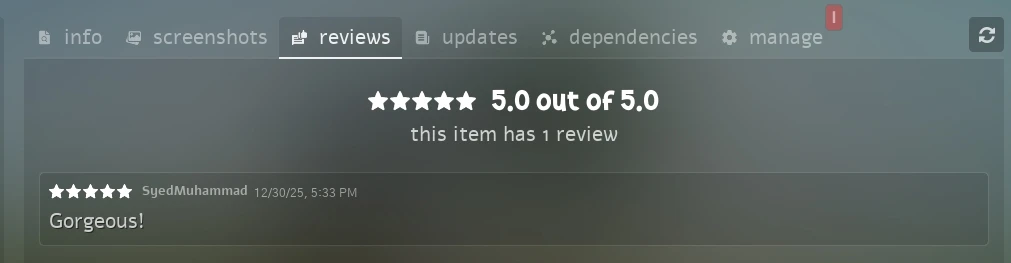
Vault Resource Ratings Tab
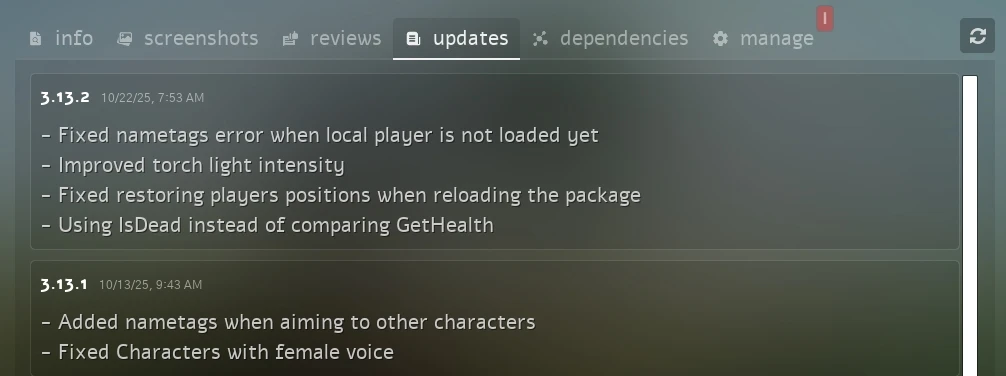
Vault Resource Changelogs Tab

Vault Resource Dependencies Tab
From the right panel of any Resource page, you can see information regarding the local installation, as well a button to open the installation folder, the store page, buttons to review, install, uninstall, update or start a new game if it's a Game Mode Package:
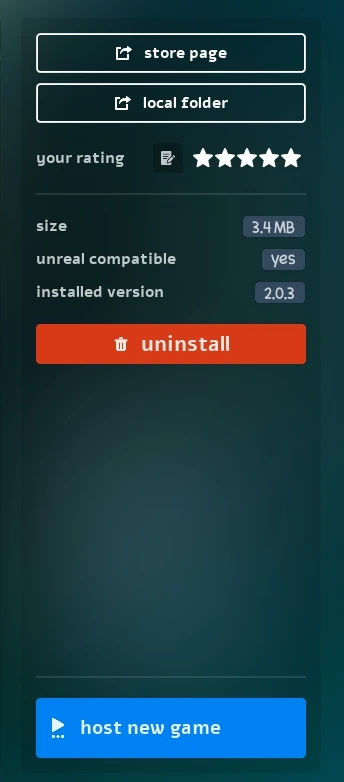
Vault Resource Right Panel
Creating Resources
From within the game, you can create a new Resource by going to the Vault tab and selecting the + create new package (or + create new asset pack) button in the bottom right corner.
This will open a popup where you can fill the name (unique folder name), title and if it's a Package, the type of it (if it's a map, script, game-mode, ETC).
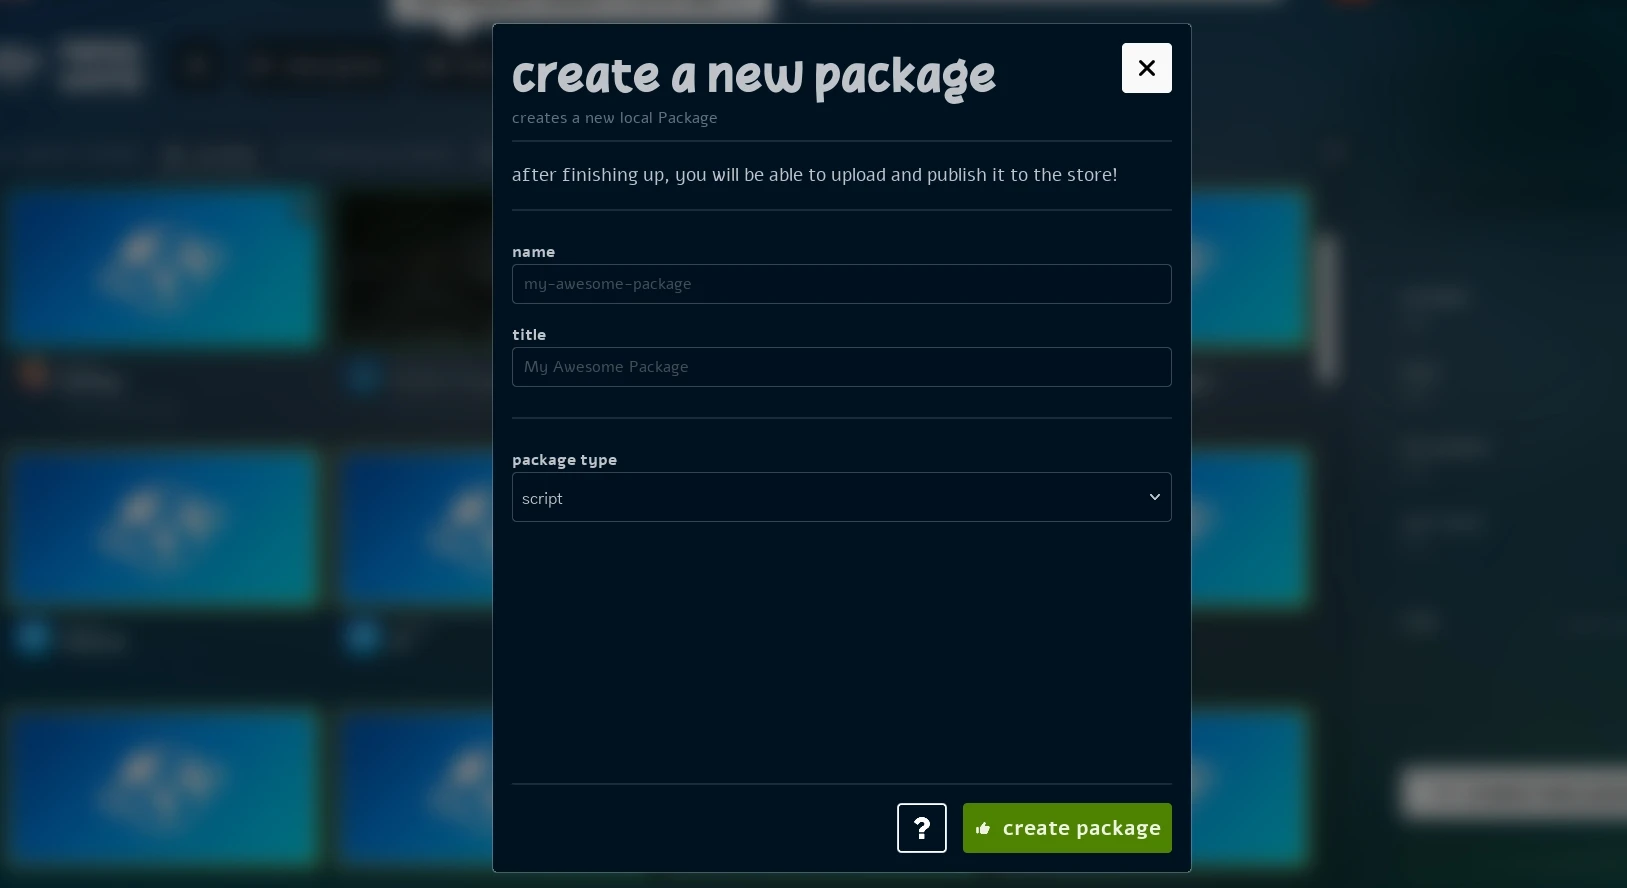
Create New Package Popup
This workflow will create a local Resource in your nanos-world/Server/Packages/ (or nanos-world/Server/Assets/) folder, which you can then edit and add content to. Once you are ready, you can upload the Resource to the Store directly from the Vault manage tab.
Creating a Store Resource
After creating a local resource, you can create a Store Resource directly from within the game. To do so, go to the Vault tab and find your resource (it will appear as yellow bordered), then open the Manage tab on it.
There, you will find a + create this resource on the store:
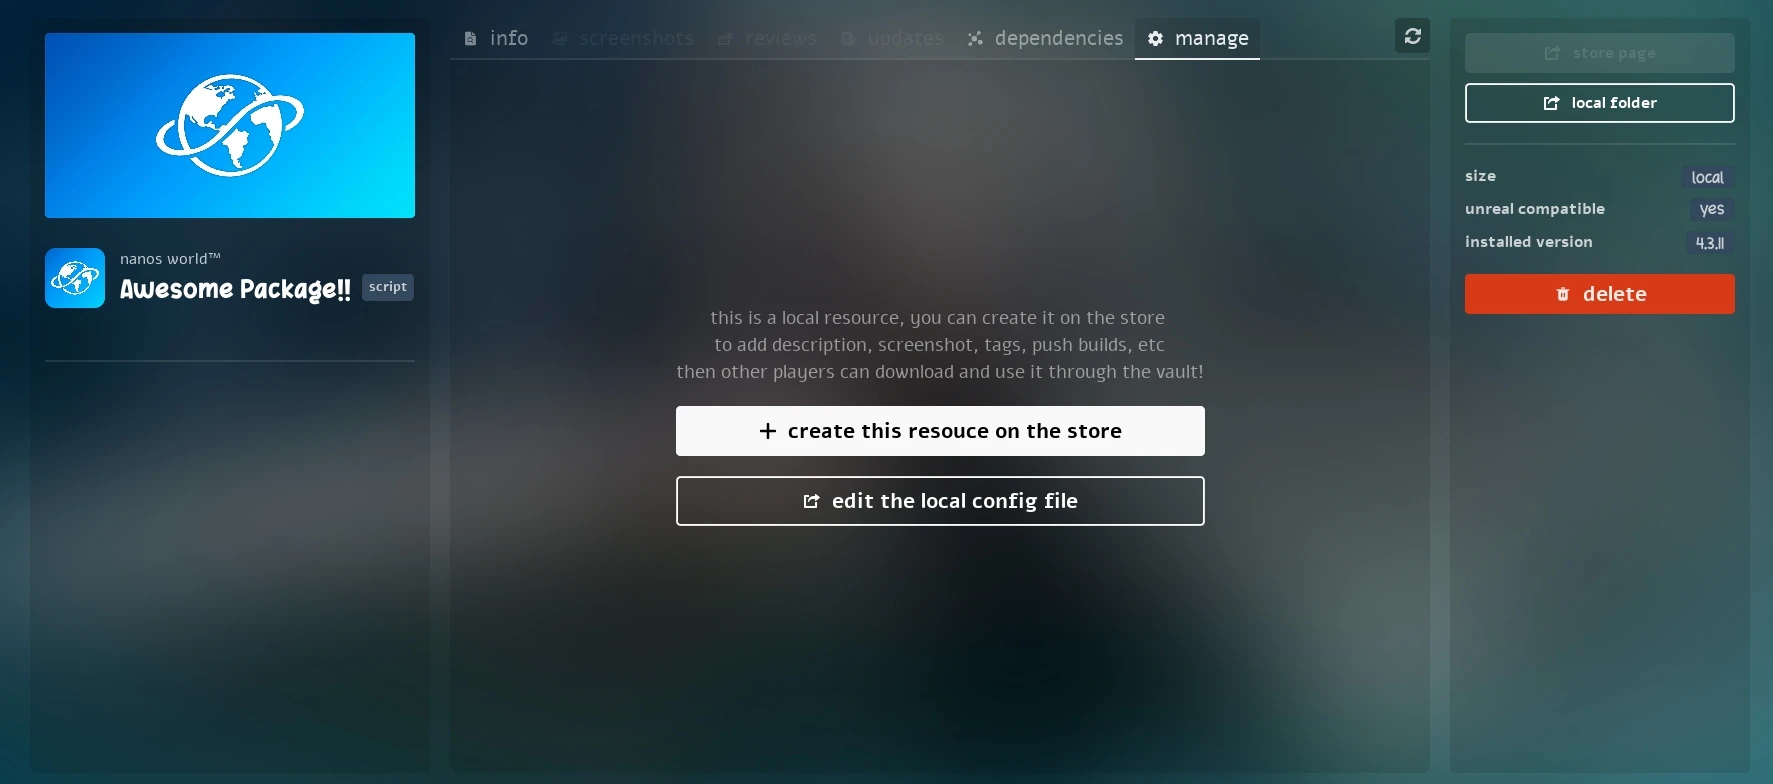
Local Resource Manage Tab
By pressing that button, you will open a popup where you can confirm all the required information for the Store Resource, and select the Team it will belong to:
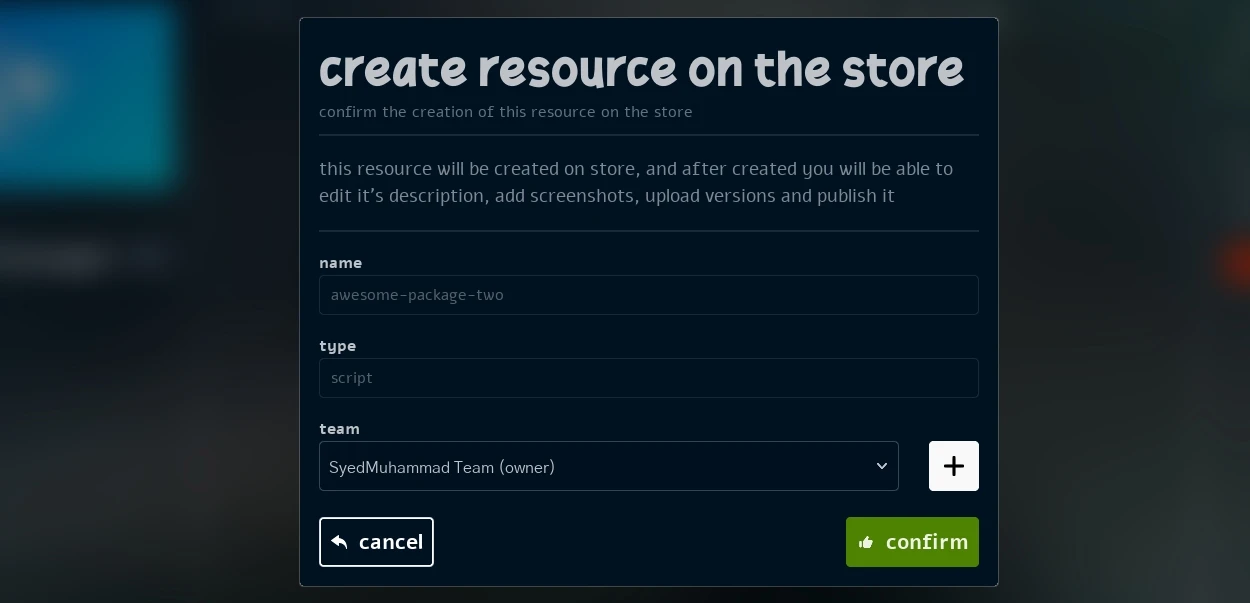
Create Store Resource Popup
Managing Resources
After it's created on the Store, a brand new possibilities will show up in the Manage tab of your Resource. From there, you will be able to edit the Resource metadata (title, description, logo, screenshots, visibility and tags) as well as manage Versions (upload new versions, set changelogs, release, delete and modify version numbers).
Managing Information
In the information tab you can edit all the Resource metadata, such as title, description, short_description, logo and visibility:
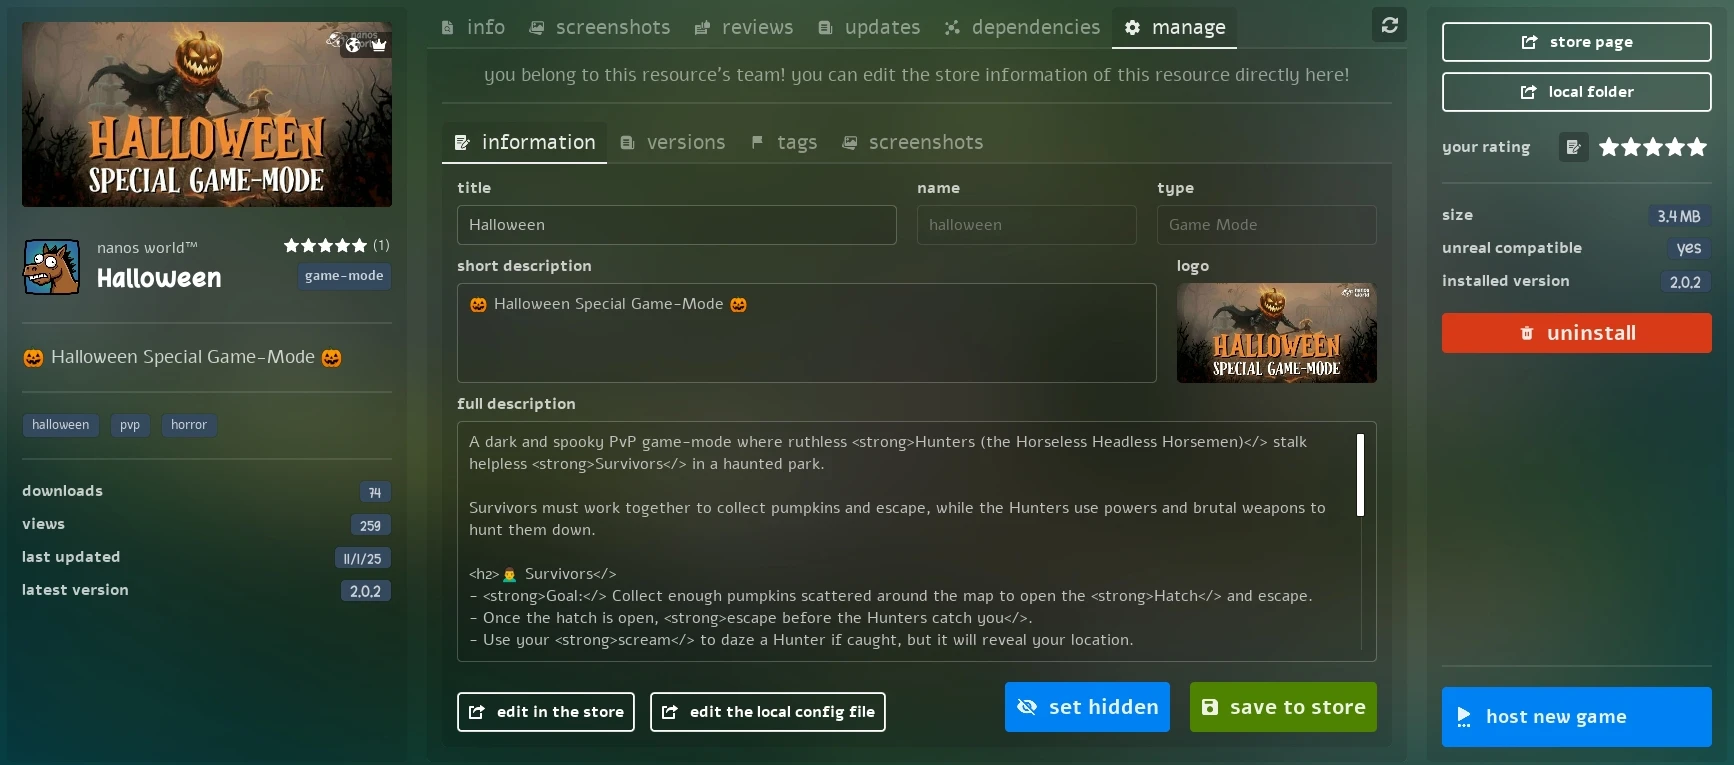
Manage Info
Adding Screenshots
In the screenshots tab you can add or remove screenshots for your Resource, helping to showcase it better in the Store:
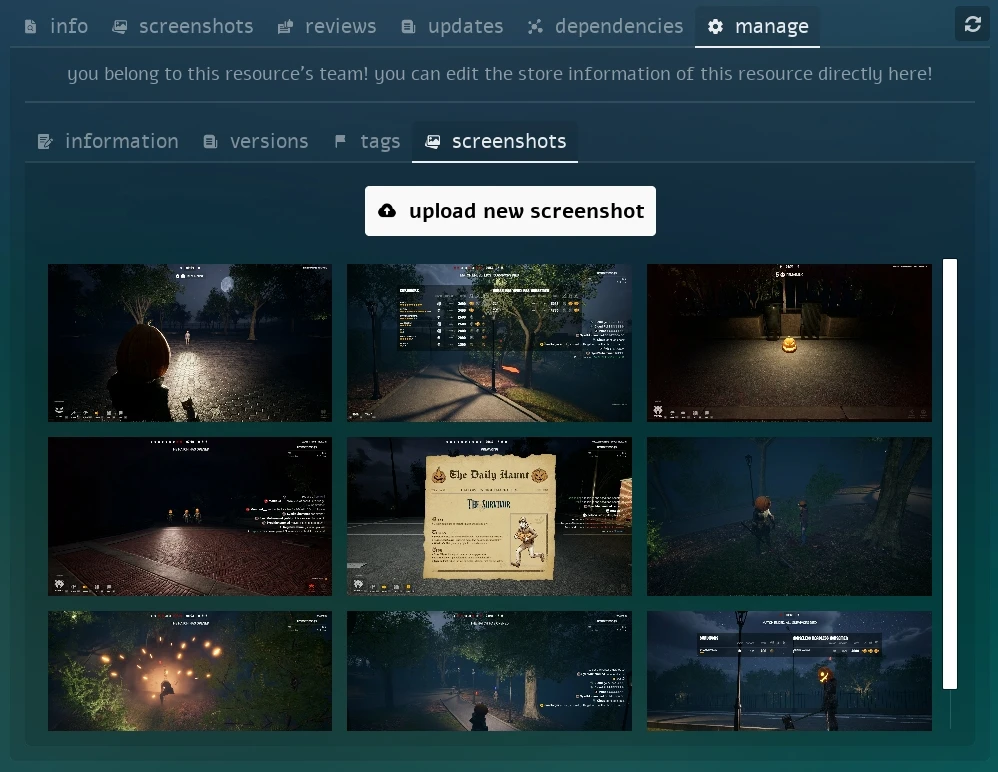
Manage Screenshots
Adding Tags
In the tags tab you can add or remove tags for your Resource, which can be used in filtering:
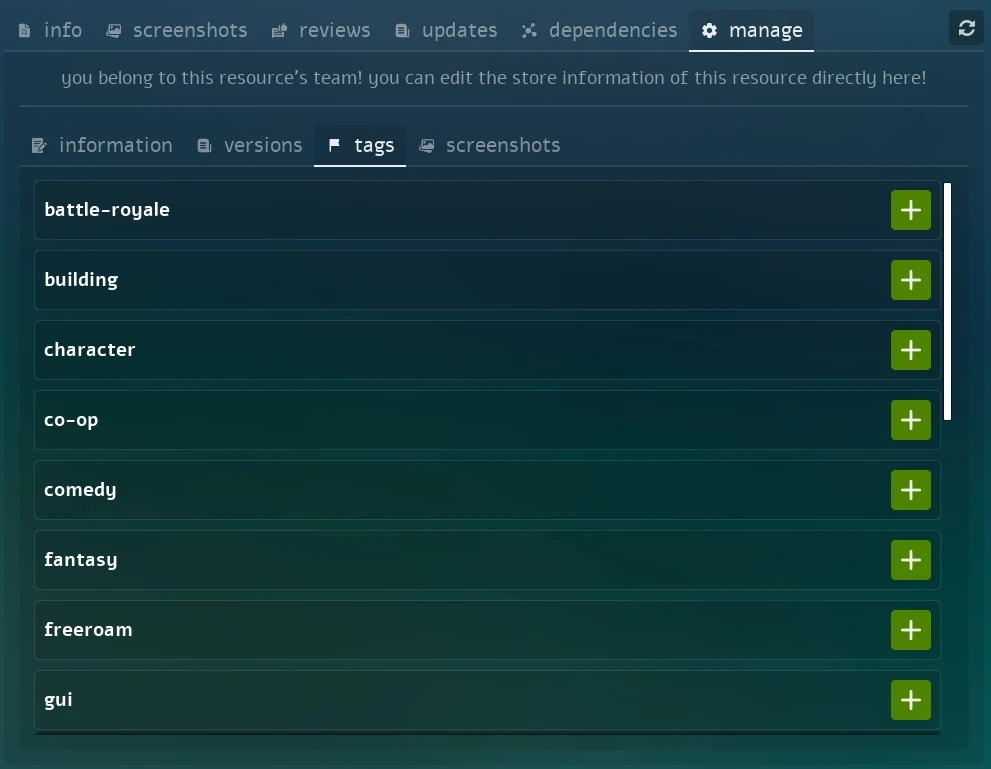
Manage Tags
Managing Resources Versions
In the versions tab you can modify the existing version number (to upload an update), upload new versions, set changelogs, release or delete versions.
This is a powerful tab as it automatically handles zipping, uploading and releasing new versions of your Resource to every other user.
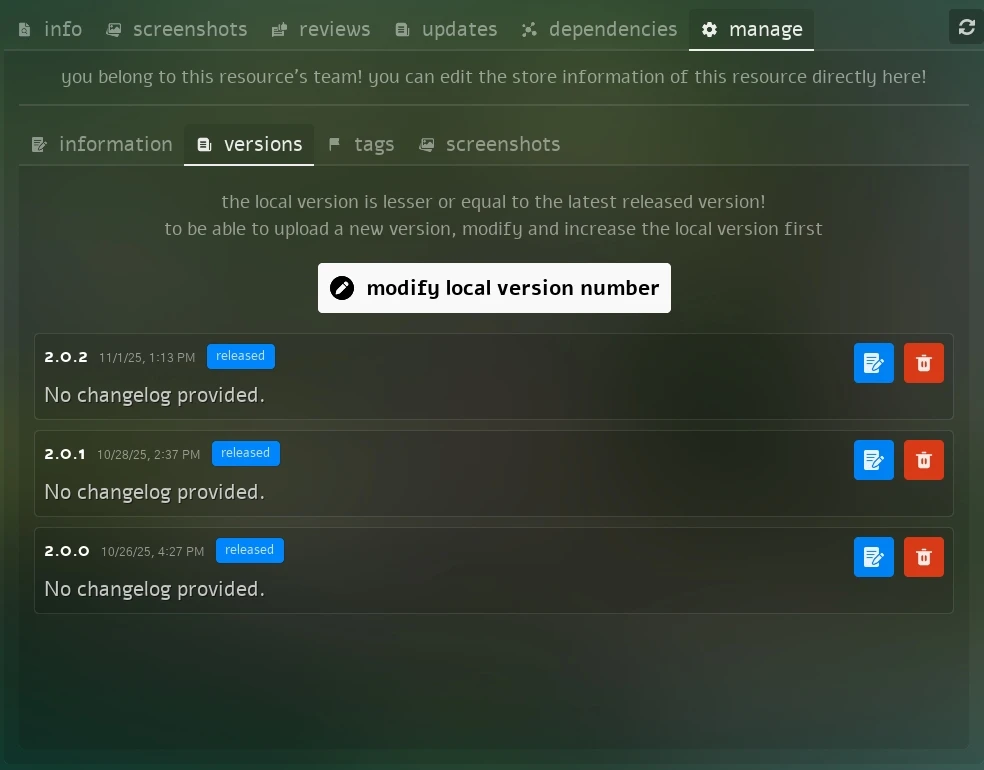
Manage Versions Tab
See how easy is uploading a new version, adding changelog and releasing it through the Vault:
Full workflow uploading a new Version
Modifying the Version Number
To be able to upload a new version of your Resource, you must first modify the existing version number to a new one (following Semantic Versioning).
You can do so by changing the local .toml file, or by pressing the modify local version number button in the versions tab (that will modify the local .toml file for you):

Modify Version Number
Uploading a new Version
By having a local version different than the latest released one, you will be able to upload a new version of your Resource to the Store, and a button to upload it will appear in the versions tab.
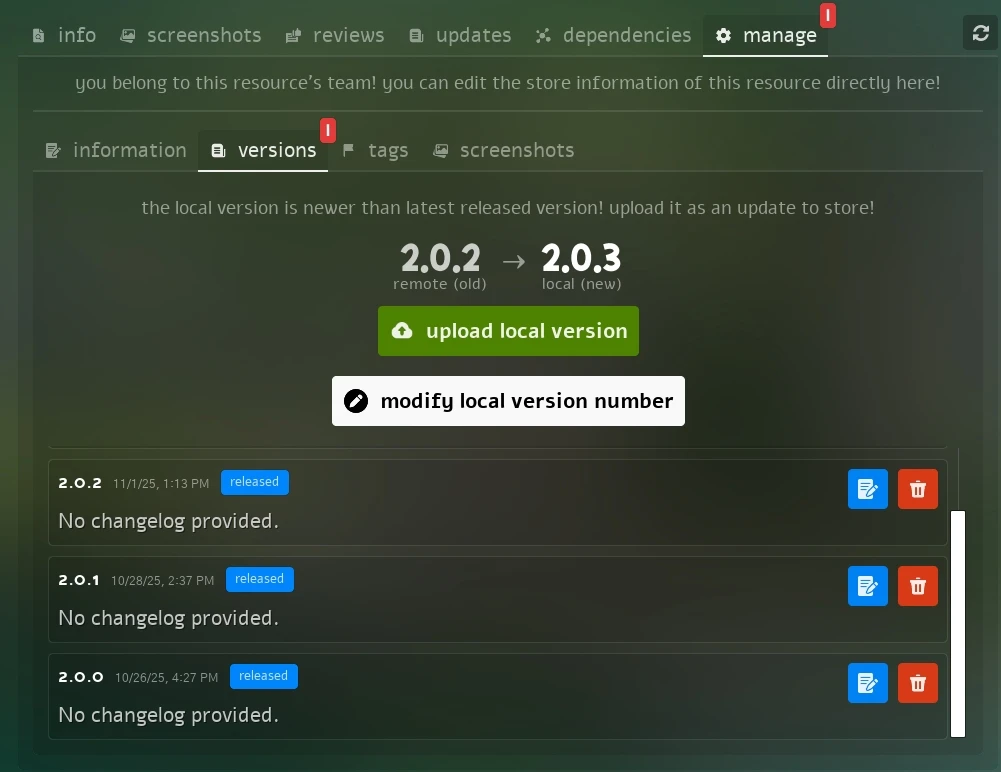
Versions Tab with Upload Button
By pressing and confirming the upload, it will automatically compress your Resource folder and upload it to the Store. Once the upload is finished, an automated validator will run, and you will be able to set a changelog and release the new version.
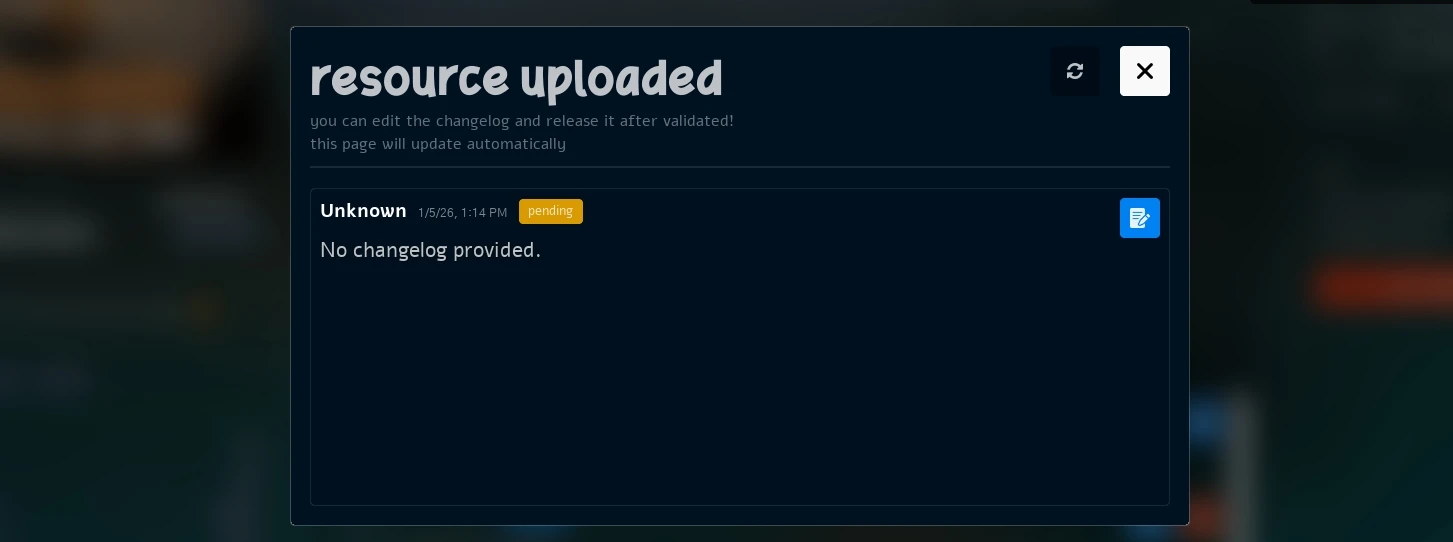
Resource Upload Popup as Pending while it's not validated
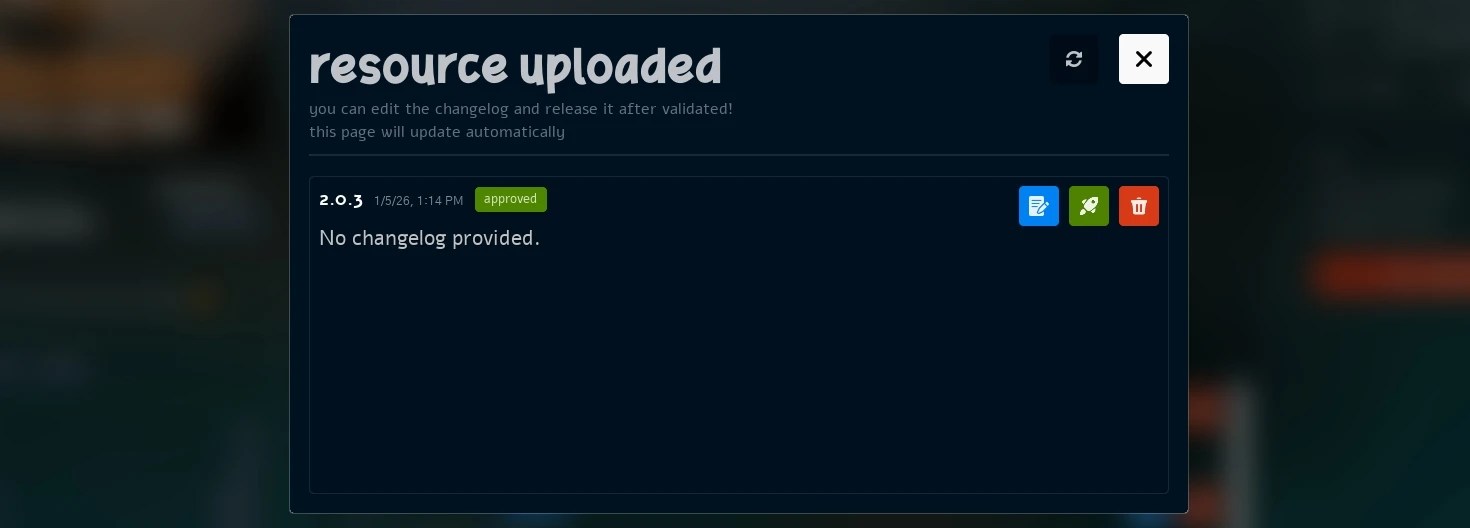
Resource Upload Popup approved after it's validated
After uploaded, you can already set a changelog on it, and release it when you want.
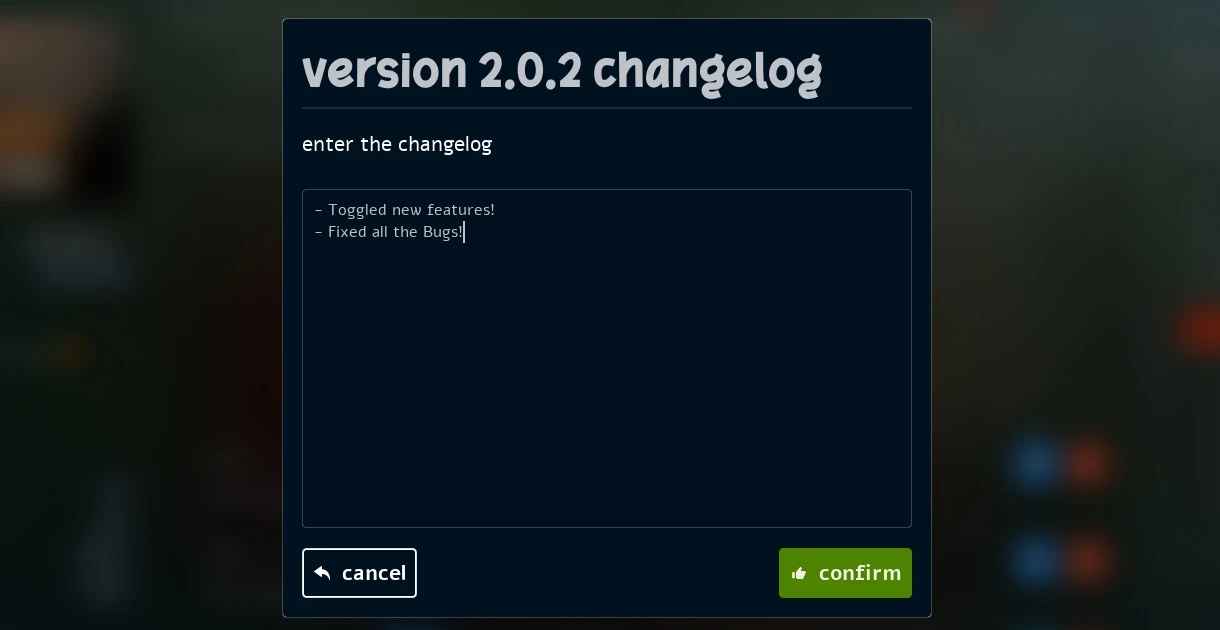
Version Changelog Popup
By pressing the release button, the new version will be made available to every other user in the Vault!
Teams
Each resource belongs to a Team. Before being able to publish a new resource, you must have a Team created (if you don't have one, a default personal Team will be created for you automatically).
By clicking on any Team logo, either from a Resource page or from your Profile popup, you will open the Team popup, where you can see the Team description, members and all the resources that belong to that Team.
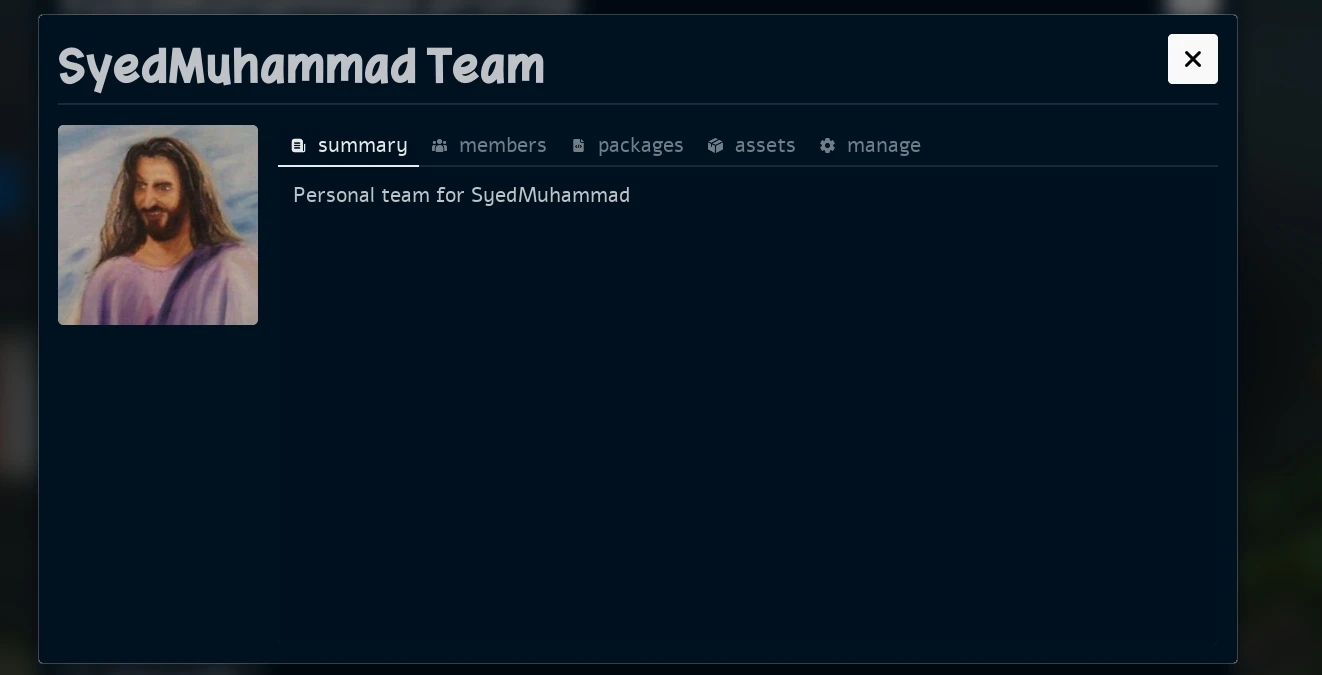
Team Popup
Accessing your Teams
You can see all the Teams you belong to in your Profile page, just press your Profile Icon in the top left corner of the Main Menu:

Your Profile Icon
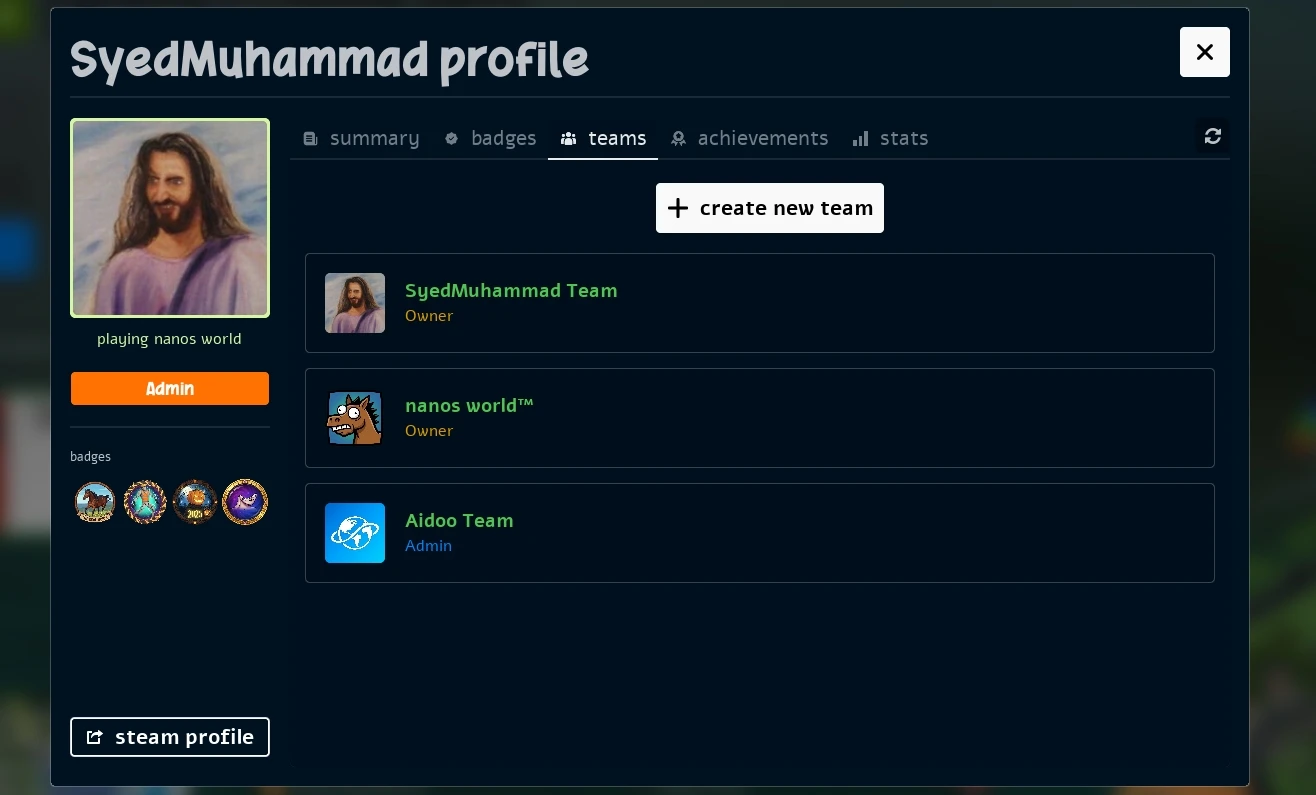
Profile Popup
Creating Teams
From the Profile popup, you can create a new Team by pressing the + create new team button, you will be prompted to enter the Team name.
Later you can edit the Team description and logo from the Team manage tab.

Team Creation Popup
You can also create a Team while creating a new Resource, by selecting the + create new team option besides the Team selection dropdown.
Managing Teams
If you are a Team Owner or Admin, you can manage the Team details by opening the Team popup and pressing the manage tab.
Here you can edit the Team name, description and logo, as well as manage the Team members (promote/demote/remove):
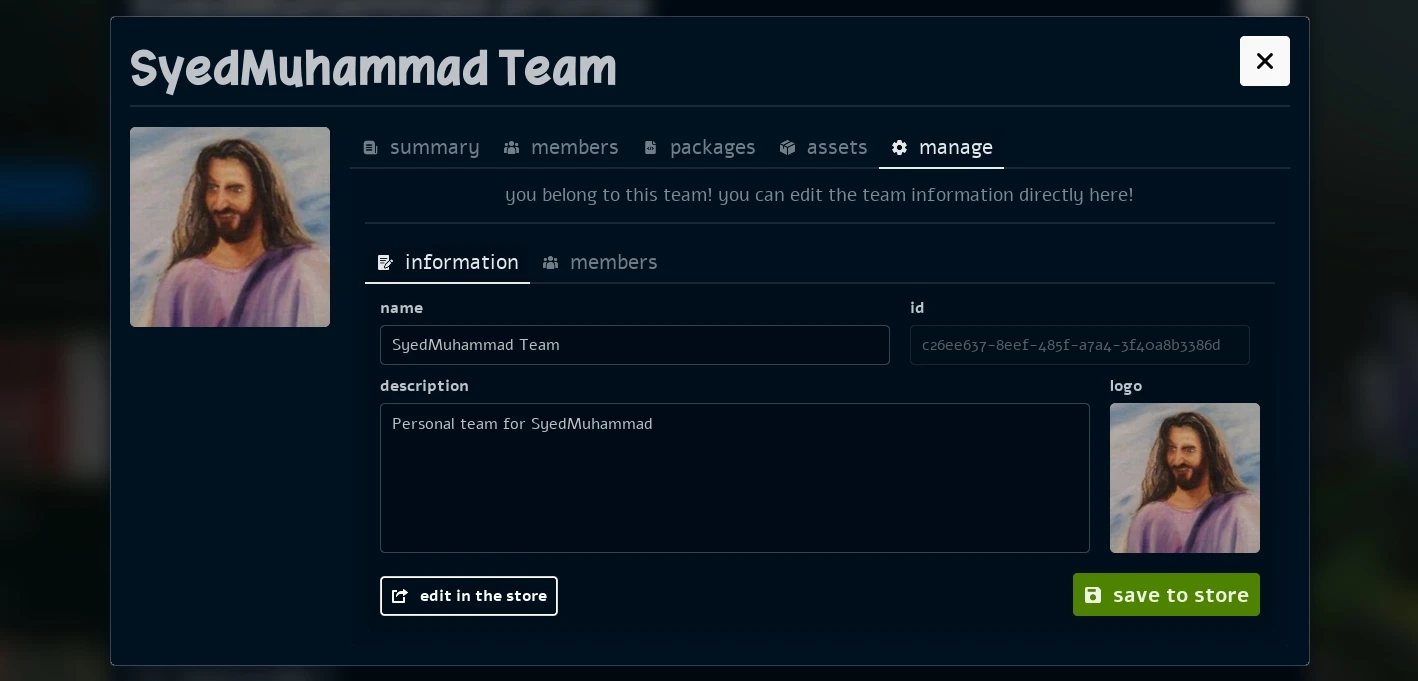
Team Manage Popup