基本 HUD(HTML)
如何使用 HTML + JavaScript + CSS 添加一个基本 HUD,以根据 CS:GO HUD 显示角色的生命值和弹药量。
提示
This is a minimal example to learn how Lua and a WebUI talk to each other. For a complete, production HUD, check the one in our Sandbox Official Repository.
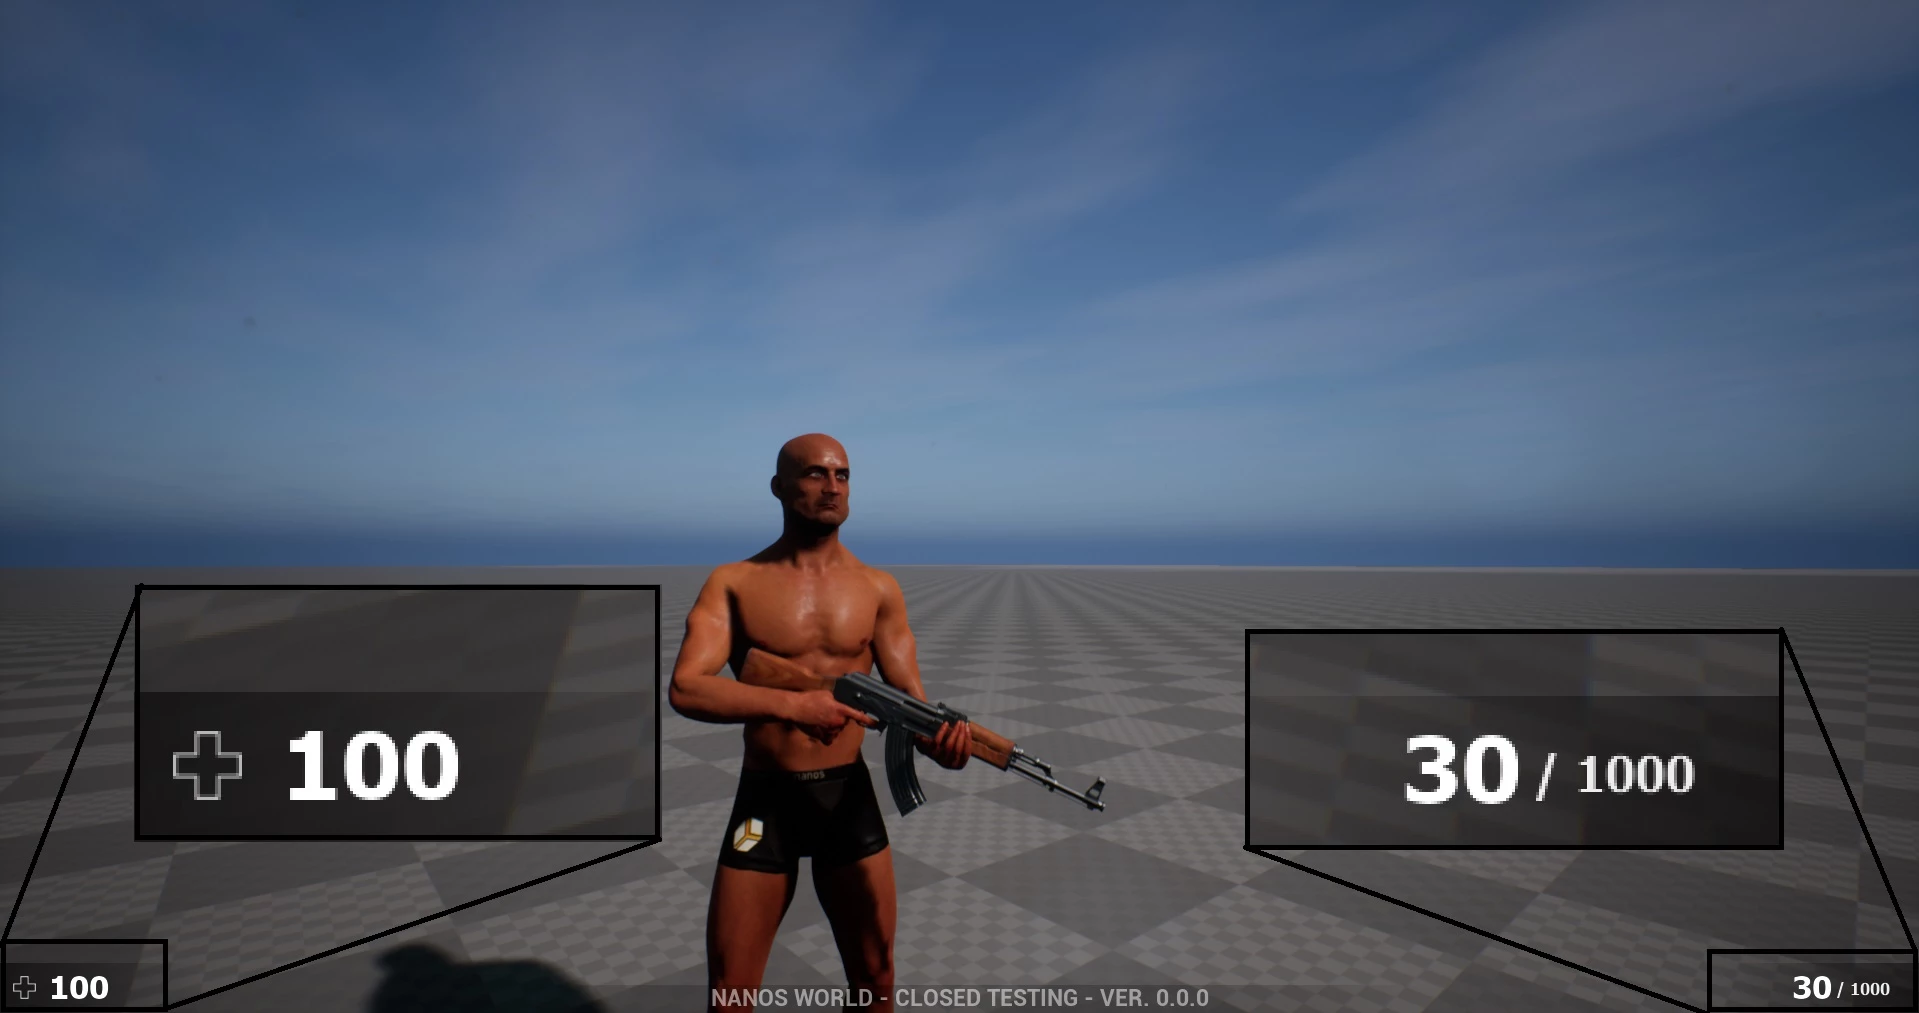
创建 UI
在包的 Client 文件夹内,新建一个名为 UI/ 的文件夹(可选),以便将 UI 文件与脚本(lua)文件区分开来:

在 UI/ 文件夹内创建以下文件:index.html、style.css 和 index.js:
信息
In this UI we will be using jQuery, please download jQuery 3.7.1 and place it inside UI/ folder.
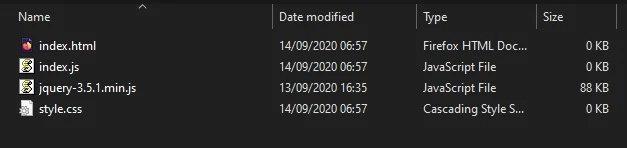
Client/UI/index.html
<html>
    <head>
        <!-- Includes all files we created (JS, JQuery and CSS) -->
        <script src="jquery-3.7.1.min.js"></script>
        <script src="index.js"></script>
        <link rel="stylesheet" href="style.css">
    </head>
    <body>
        <!-- Health container (black background) -->
        <div id="health_container">
            <img src="health.png">
            <span id="health_current">100</span> <!-- Health value -->
        </div>

        <!-- Weapon Ammo container (black background) -->
        <div id="weapon_ammo_container">
            <span id="weapon_ammo_clip">30</span> <!-- Ammo Clip value -->
            <span id="weapon_ammo_bag">/ 1000</span> <!-- Ammo Bag value -->
        </div>
    </body>
</html>
信息
如果你注意到我们使用了一张图片 health.png,你可以从这里下载 https://i.imgur.com/0BmQJVZ.png 并同样将其放置在 UI/ 中。
现在让我们为其添加样式,为此请编辑你的 style.css 并添加以下 CSS 代码:
Client/UI/style.css
body {
    font-family: Tahoma, sans-serif;
    font-size: 14px;
    margin: 0px;
    padding: 0px;
    margin-bottom: 20px;
}

#weapon_ammo_container {
    display: none;
    position: absolute;
    right: 0px;
    bottom: 0px;
    width: 200px;
    height: 50px;
    background-image: linear-gradient(to right, #00000000, #00000080);
    text-align: right;
    line-height: 47px;
}

#weapon_ammo_bag {
    color: #ededed;
    font-weight: bold;
    font-size: 16px;
    margin-right: 30px;
    position: relative;
    top: -4px;
}

#weapon_ammo_clip {
    color: white;
    font-weight: bold;
    font-size: 32px;
}

#health_container {
    position: absolute;
    bottom: 0px;
    width: 200px;
    height: 50px;
    background-image: linear-gradient(to left, #00000000, #00000080);
}

#health_container img {
    height: 23px;
    margin: 13px;
}

#health_current {
    color: white;
    font-size: 32px;
    font-weight: bold;
    position: absolute;
    margin-top: 4px;
}
最后,在你的包的 Index.lua 中生成 WebUI:
Client/Index.lua
-- 使用你刚刚创建的 HTML 文件生成 WebUI
main_hud = WebUI("Main HUD", "file://UI/index.html")
结果:
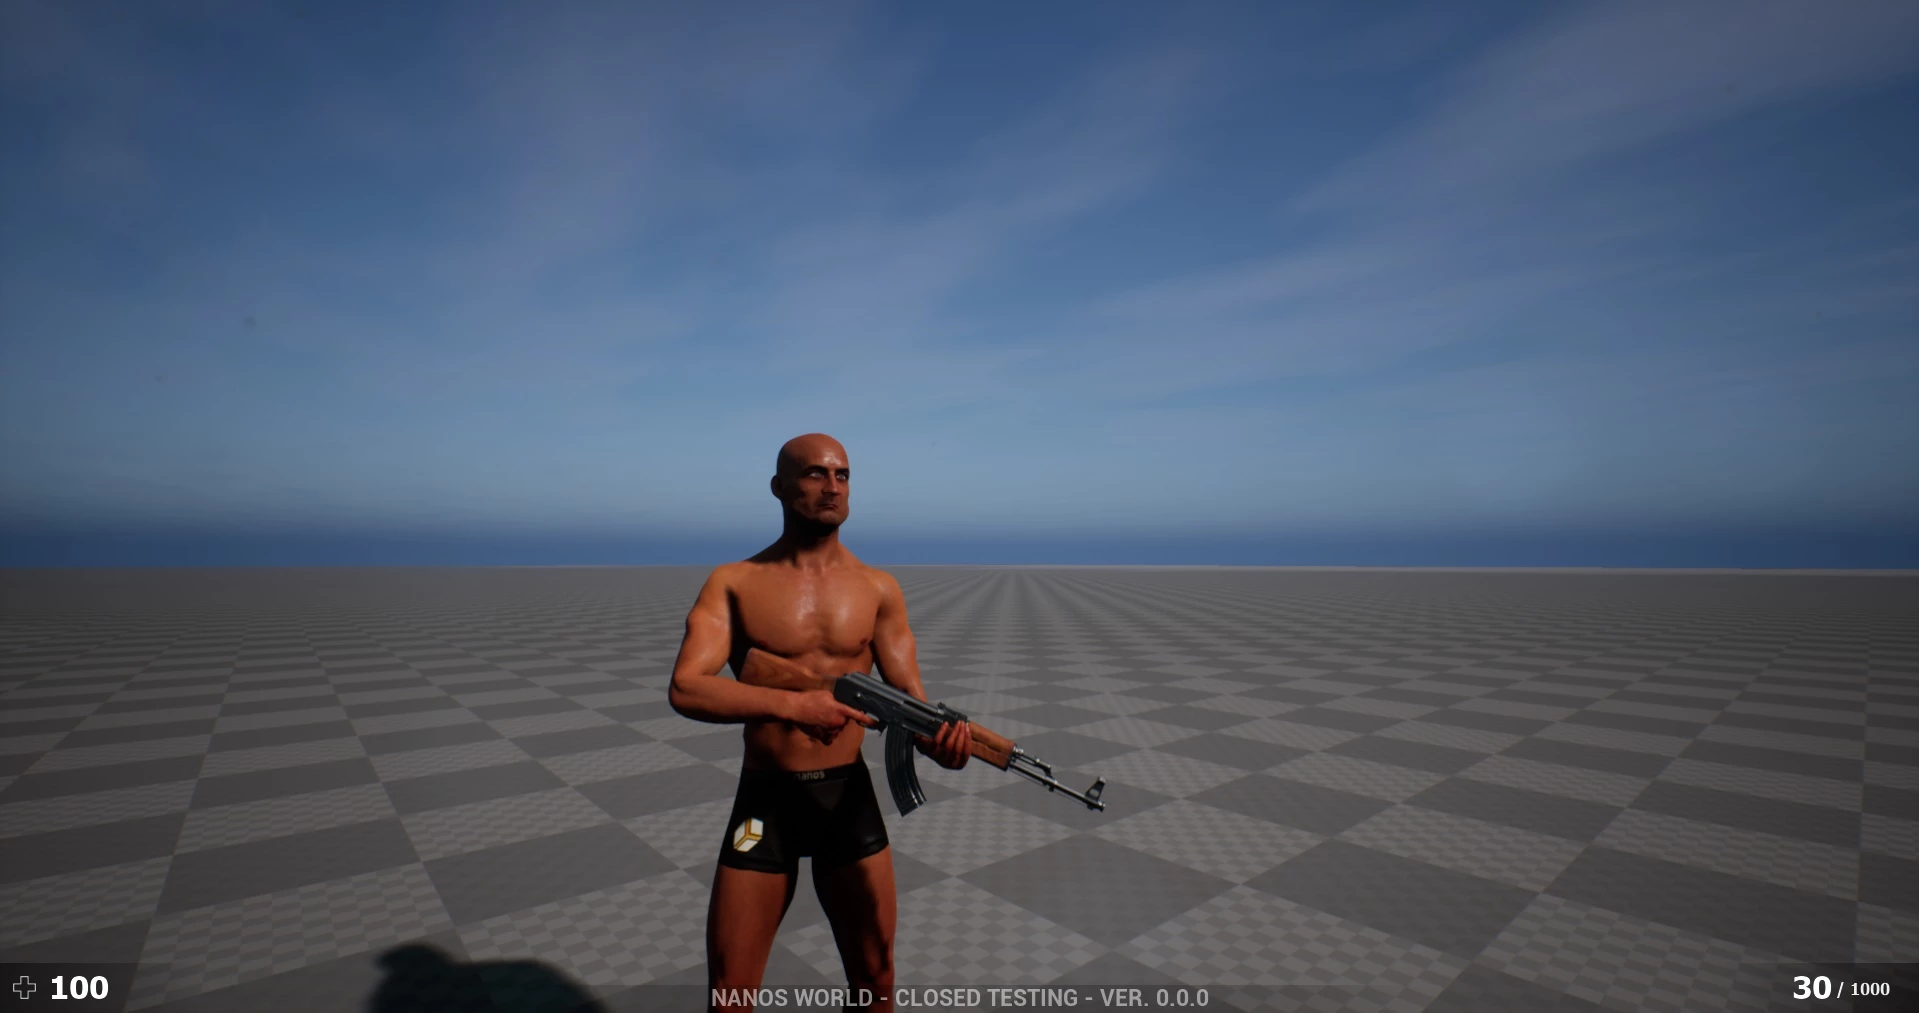
这还只是静态文本!现在让我们让它动起来,显示实际的数值!
添加事件和回调以与你的包通信
在你的 index.js 中添加以下 JavaScript 代码:
Client/UI/index.js
// 注册 UpdateWeaponAmmo 自定义事件(来自 Lua)
Events.Subscribe("UpdateWeaponAmmo", function(enable, clip, bag) {
    if (enable)
        $("#weapon_ammo_container").show();
    else
        $("#weapon_ammo_container").hide();

    // 使用 JQuery,用新的弹药值覆盖这些 SPAN 的 HTML 内容
    $("#weapon_ammo_clip").html(clip);
    $("#weapon_ammo_bag").html("/ " + bag);
});

// 注册 UpdateHealth 自定义事件(来自 Lua)
Events.Subscribe("UpdateHealth", function(health) {
    // 使用 JQuery,用新的生命值覆盖 SPAN 的 HTML 内容
    $("#health_current").html(health);

    // 额外效果:当生命值低于 25 时将背景变为红色
    if (health <= 25)
        $("#health_container").css("background-image", "linear-gradient(to left, #0000, #d00c)");
    else
        $("#health_container").css("background-image", "linear-gradient(to left, #00000000, #00000080)");
});
既然我们的 UI 已经准备就绪,让我们完成 Lua 代码来处理整个逻辑!
Client/Index.lua
-- Spawns a WebUI with the HTML file you just created
main_hud = WebUI("Main HUD", "file://UI/index.html")


-- When LocalPlayer spawns, sets an event on it to trigger when we possess a new character. This event is only called once, see Package.Subscribe("Load") for when reloading the package
Client.Subscribe("SpawnLocalPlayer", function(local_player)
    local_player:Subscribe("Possess", function(player, character)
        UpdateLocalCharacter(character)
    end)
end)

-- When package loads, verify if LocalPlayer already exists (eg. when reloading the package), then try to get and store it's controlled character
Package.Subscribe("Load", function()
    local local_player = Client.GetLocalPlayer()
    if (local_player ~= nil) then
        UpdateLocalCharacter(local_player:GetControlledCharacter())
    end
end)

-- Function to set all needed events on local character (to update the UI when it takes damage or dies)
function UpdateLocalCharacter(character)
    -- Verifies if character is not nil (eg. when GetControlledCharacter() doesn't return a character)
    if (character == nil) then return end

    -- Updates the UI with the current character's health
    UpdateHealth(character:GetHealth())

    -- Updates the health UI whenever the health changes (damage, healing, death or respawn)
    character:Subscribe("HealthChange", function(charac, old_health, new_health)
        UpdateHealth(new_health)
    end)

    -- Try to get if the character is holding any weapon
    local current_picked_item = character:GetPicked()

    -- If so, update the UI
    if (current_picked_item and current_picked_item:IsA(Weapon)) then
        UpdateAmmo(true, current_picked_item:GetAmmoClip(), current_picked_item:GetAmmoBag())
    end

    -- Sets on character an event to update his grabbing weapon (to show ammo on UI)
    character:Subscribe("PickUp", function(charac, object)
        if (object:IsA(Weapon)) then
            UpdateAmmo(true, object:GetAmmoClip(), object:GetAmmoBag())
        end
    end)

    -- Sets on character an event to remove the ammo ui when he drops it's weapon
    character:Subscribe("Drop", function(charac, object)
        UpdateAmmo(false)
    end)

    -- Sets on character an event to update the UI when he fires
    character:Subscribe("Fire", function(charac, weapon)
        UpdateAmmo(true, weapon:GetAmmoClip(), weapon:GetAmmoBag())
    end)

    -- Sets on character an event to update the UI when he reloads the weapon
    character:Subscribe("Reload", function(charac, weapon, ammo_to_reload)
        UpdateAmmo(true, weapon:GetAmmoClip(), weapon:GetAmmoBag())
    end)
end

-- Function to update the Ammo's UI
function UpdateAmmo(enable_ui, ammo, ammo_bag)
    -- Each argument after the event name arrives as a separate parameter in JavaScript
    main_hud:CallEvent("UpdateWeaponAmmo", enable_ui, ammo, ammo_bag)
end

-- Function to update the Health's UI
function UpdateHealth(health)
    main_hud:CallEvent("UpdateHealth", health)
end
提示
就这些!尽情在你的包中使用它吧!