Basic HUD (React)
How to add a basic HUD using React to display the character's Health and Ammo.
Creating the React App
This tutorial will not teach you how to use React. A basic knowledge of the framework is required to understand the tutorial. You can find some documentation and tutorials here.
In the folder of your choice, create a new React Application that will be used to create our UI. We will use Vite, the recommended way to start a new React project. Execute the following commands in your terminal (it requires Node.js installed):
npm create vite@latest basic-hud -- --template react
cd basic-hud
npm install
Your App folder should look like this:
basic-hud/
├── public/
├── src/
│   ├── assets/
│   ├── App.css
│   ├── App.jsx
│   ├── index.css
│   └── main.jsx
├── index.html
├── package.json
└── vite.config.js
Basic Configuration of your App
Before starting to add some code, there's a few things to configure to be sure that your App will be compatible with nanos world:
-
Using relative paths in the build
The WebUI loads your App from the package files (file://), so the build must reference its files with relative paths. Edit your vite.config.js and add the base option:
import { defineConfig } from 'vite'
import react from '@vitejs/plugin-react'

export default defineConfig({
  plugins: [react()],
  base: './',
})
-
Adding the nanos world Events handling
By default, your react App will not be able to handle the native nanos world Events. To fix that add the following code in a new file named Events.js in the src directory of your App:
const Events = {};

Events.Call = function (sEventName, ...args) {
    if (typeof (window.Events) == "undefined") return;
    window.Events.Call(sEventName, ...args);
}

Events.Subscribe = function (sEventName, callback) {
    if (typeof (window.Events) == "undefined") return;
    window.Events.Subscribe(sEventName, callback);
}

export default Events;
Don't forget to import this file in your components that needs to Call/Subscribe to nanos world Events
-
Clean unused files from the App
A few example files are present in the App by default. For the sake of cleanliness, we'll remove them:
./src/assets/react.svg./public/vite.svg
Also clear the contents of ./src/index.css, as we will write our own styles in App.css.
Don't forget to remove the references to the deleted files in ./index.html (the favicon link) and in ./src/App.jsx.
Creating the UI
Now that our App is ready and compatible with nanos world, we are ready to add our code into it. Since this UI is very simple, we will use the default App.jsx component available in the src folder
import './App.css';

function App() {
  return (
    <div >
      {/* Health container (black background) */}
        <div id="health_container">
            <img src="./img/health.png" alt="health-cross"/>
              <span id="health_current">100</span> {/* Health value */}
        </div>

        {/* Weapon Ammo container (black background) */}
        <div id="weapon_ammo_container">
            <span id="weapon_ammo_clip">30</span> {/* Ammo Clip value */}
            <span id="weapon_ammo_bag">/ 1000</span> {/* Ammo Bag value */}
        </div>
    </div>
  );
}

export default App;
If you noticed we are using an image health.png, you can download it here https://i.imgur.com/0BmQJVZ.png and place it inside the ./public/img folder of your App.
When you're referencing files stored in the public folder you don't need to add public to the path. Once built, everything in the public folder is copied to the root folder of your app.
Now let's add the style to it, for that, edit your App.css file and add the following CSS code:
body {
    font-family: Tahoma, sans-serif;
    font-size: 14px;
    margin: 0px;
    padding: 0px;
    margin-bottom: 20px;
}

#weapon_ammo_container {
    position: absolute;
    right: 0px;
    bottom: 0px;
    width: 200px;
    height: 50px;
    background-image: linear-gradient(to right, #00000000, #00000080);
    text-align: right;
    line-height: 47px;
}

#weapon_ammo_bag {
    color: #ededed;
    font-weight: bold;
    font-size: 16px;
    margin-right: 30px;
    position: relative;
    top: -4px;
}

#weapon_ammo_clip {
    color: white;
    font-weight: bold;
    font-size: 32px;
}

#health_container {
    position: absolute;
    bottom: 0px;
    width: 200px;
    height: 50px;
    background-image: linear-gradient(to left, #00000000, #00000080);
}

#health_container img {
    height: 23px;
    margin: 13px;
}

#health_current {
    color: white;
    font-size: 32px;
    font-weight: bold;
    position: absolute;
    margin-top: 4px;
}
To make sure that your App works, you can simply start the application and see the end result in your web browser. To do so use the following command:
npm run dev
You can see the running App at the address shown in the terminal, usually http://localhost:5173.
While developing, you can point your WebUI to this address (WebUI("Main HUD", "http://localhost:5173")) to get hot reload in-game. Remember to switch back to the built files before publishing!
Once started you should see something like this in your web browser:

Adding Events handling into your App
Now that we have all the base of our App set, we can start to implement the Events handling. For this, edit your App.jsx:
import './App.css';
import Events from './Events.js';
import { useState, useEffect } from 'react';


function App() {

  // Use React State to store the health and ammo values
  // The values are updated by the events from the server
  const [health, setHealth] = useState(100);
  const [weaponAmmo, setWeaponAmmo] = useState(30);
  const [weaponBag, setWeaponBag] = useState(1000);
  const [displayAmmo, setDisplayAmmo] = useState(false);

  // Subscribes to the events only once, when the component mounts
  // (subscribing directly in the component body would add a new subscription on every render)
  useEffect(() => {
    // Subscribe to the events related to the Ammo and visibility of the Ammo container
    Events.Subscribe("UpdateWeaponAmmo", (enable, clip, bag) => {
      setDisplayAmmo(enable);
      setWeaponAmmo(clip);
      setWeaponBag(bag);
    });

    // Subscribe to the events related to the Health
    Events.Subscribe("UpdateHealth", (health) => {
      setHealth(health);
    });
  }, []);

  return (
    <div >
      {/* Health container (black background) */}
        <div id="health_container">
            <img src="./img/health.png" alt="health-cross"/>
              <span id="health_current">{health}</span> {/* Health value */}
        </div>

        {/* Weapon Ammo container (black background) */}
        {displayAmmo &&
          <div id="weapon_ammo_container">
            <span id="weapon_ammo_clip">{weaponAmmo}</span> {/* Ammo Clip value */}
            <span id="weapon_ammo_bag">/ {weaponBag}</span> {/* Ammo Bag value */}
        </div>
        }
    </div>
  );
}

export default App;
Now that coding part for the UI is done, you can build it to add it to your nanos world Package!
Building your React Application
Once finished with the development of the web part, you'll need to build the App. In the root folder of your app, execute the following command:
npm run build
When completed, you will find all the files of your application in the ./dist folder.
Creating the UI Package
Inside your Package’s Client folder, create a new folder (optional) called UI/ to separate the UI files from the Scripting (lua) files:

After that copy all the files present in the ./dist folder of your React app into the UI/ folder of your nanos world Package.
Finally, in your Package’s Index.lua, let’s add all the required code to spawn and update the UI:
-- Spawns a WebUI with the HTML file you just created
main_hud = WebUI("Main HUD", "file://UI/index.html", WidgetVisibility.VisibleNotHitTestable)

-- When LocalPlayer spawns, sets an event on it to trigger when we possess a new character. This event is only called once, see Package.Subscribe("Load") for when reloading the package
Client.Subscribe("SpawnLocalPlayer", function(local_player)
    local_player:Subscribe("Possess", function(player, character)
        UpdateLocalCharacter(character)
    end)
end)

-- When package loads, verify if LocalPlayer already exists (eg. when reloading the package), then try to get and store it's controlled character
Package.Subscribe("Load", function()
    local local_player = Client.GetLocalPlayer()
    if (local_player ~= nil) then
        UpdateLocalCharacter(local_player:GetControlledCharacter())
    end
end)

-- Function to set all needed events on local character (to update the UI when it takes damage or dies)
function UpdateLocalCharacter(character)
    -- Verifies if character is not nil (eg. when GetControlledCharacter() doesn't return a character)
    if (character == nil) then
        return
    end

    -- Updates the UI with the current character's health
    UpdateHealth(character:GetHealth())

    -- Updates the health UI whenever the health changes (damage, healing, death or respawn)
    character:Subscribe("HealthChange", function(charac, old_health, new_health)
        UpdateHealth(new_health)
    end)

    -- Try to get if the character is holding any weapon
    local current_picked_item = character:GetPicked()

    -- If so, update the UI (IsA also matches classes inherited from Weapon)
    if (current_picked_item and current_picked_item:IsA(Weapon)) then
        UpdateAmmo(true, current_picked_item:GetAmmoClip(), current_picked_item:GetAmmoBag())
    end

    -- Sets on character an event to update his grabbing weapon (to show ammo on UI)
    character:Subscribe("PickUp", function(charac, object)
        if (object:IsA(Weapon)) then
            UpdateAmmo(true, object:GetAmmoClip(), object:GetAmmoBag())
        end
    end)

    -- Sets on character an event to remove the ammo ui when he drops it's weapon
    character:Subscribe("Drop", function(charac, object)
        UpdateAmmo(false)
    end)

    -- Sets on character an event to update the UI when he fires
    character:Subscribe("Fire", function(charac, weapon)
        UpdateAmmo(true, weapon:GetAmmoClip(), weapon:GetAmmoBag())
    end)

    -- Sets on character an event to update the UI when he reloads the weapon
    character:Subscribe("Reload", function(charac, weapon, ammo_to_reload)
        UpdateAmmo(true, weapon:GetAmmoClip(), weapon:GetAmmoBag())
    end)
end

-- Function to update the Ammo's UI
function UpdateAmmo(enable_ui, ammo, ammo_bag)
    main_hud:CallEvent("UpdateWeaponAmmo", enable_ui, ammo, ammo_bag)
end

-- Function to update the Health's UI
function UpdateHealth(health)
    main_hud:CallEvent("UpdateHealth", health)
end
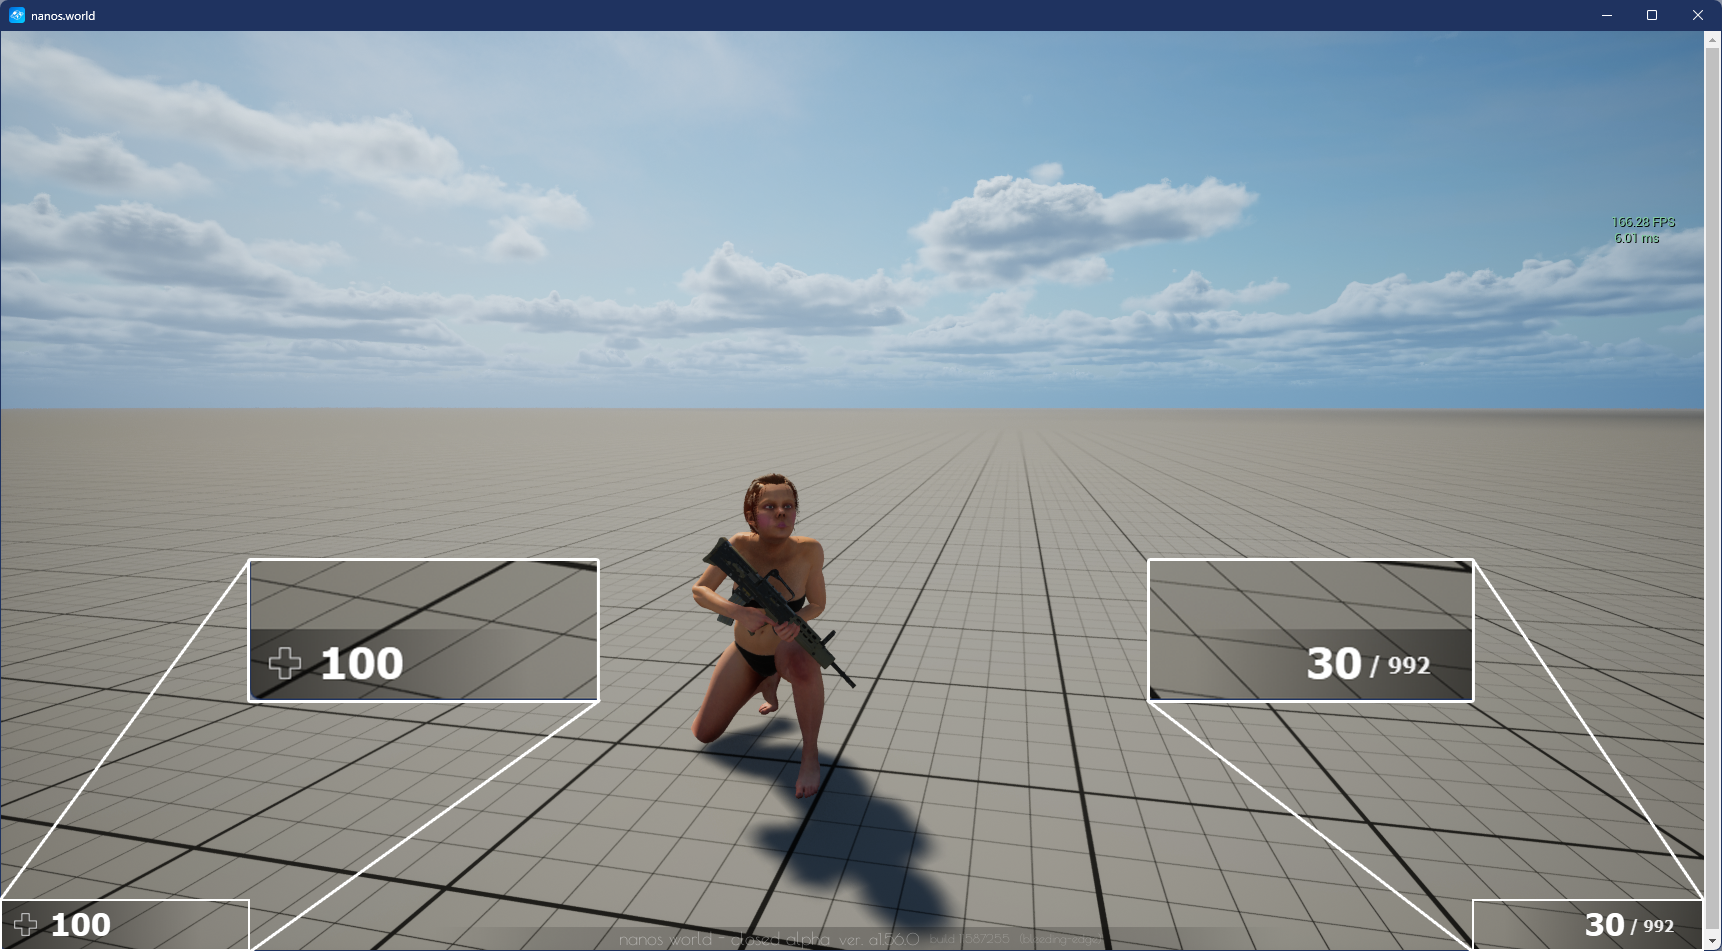
Et voilà! Your app should now be ready to be used into nanos world. To test it simply run your Server and contemplate your hard work
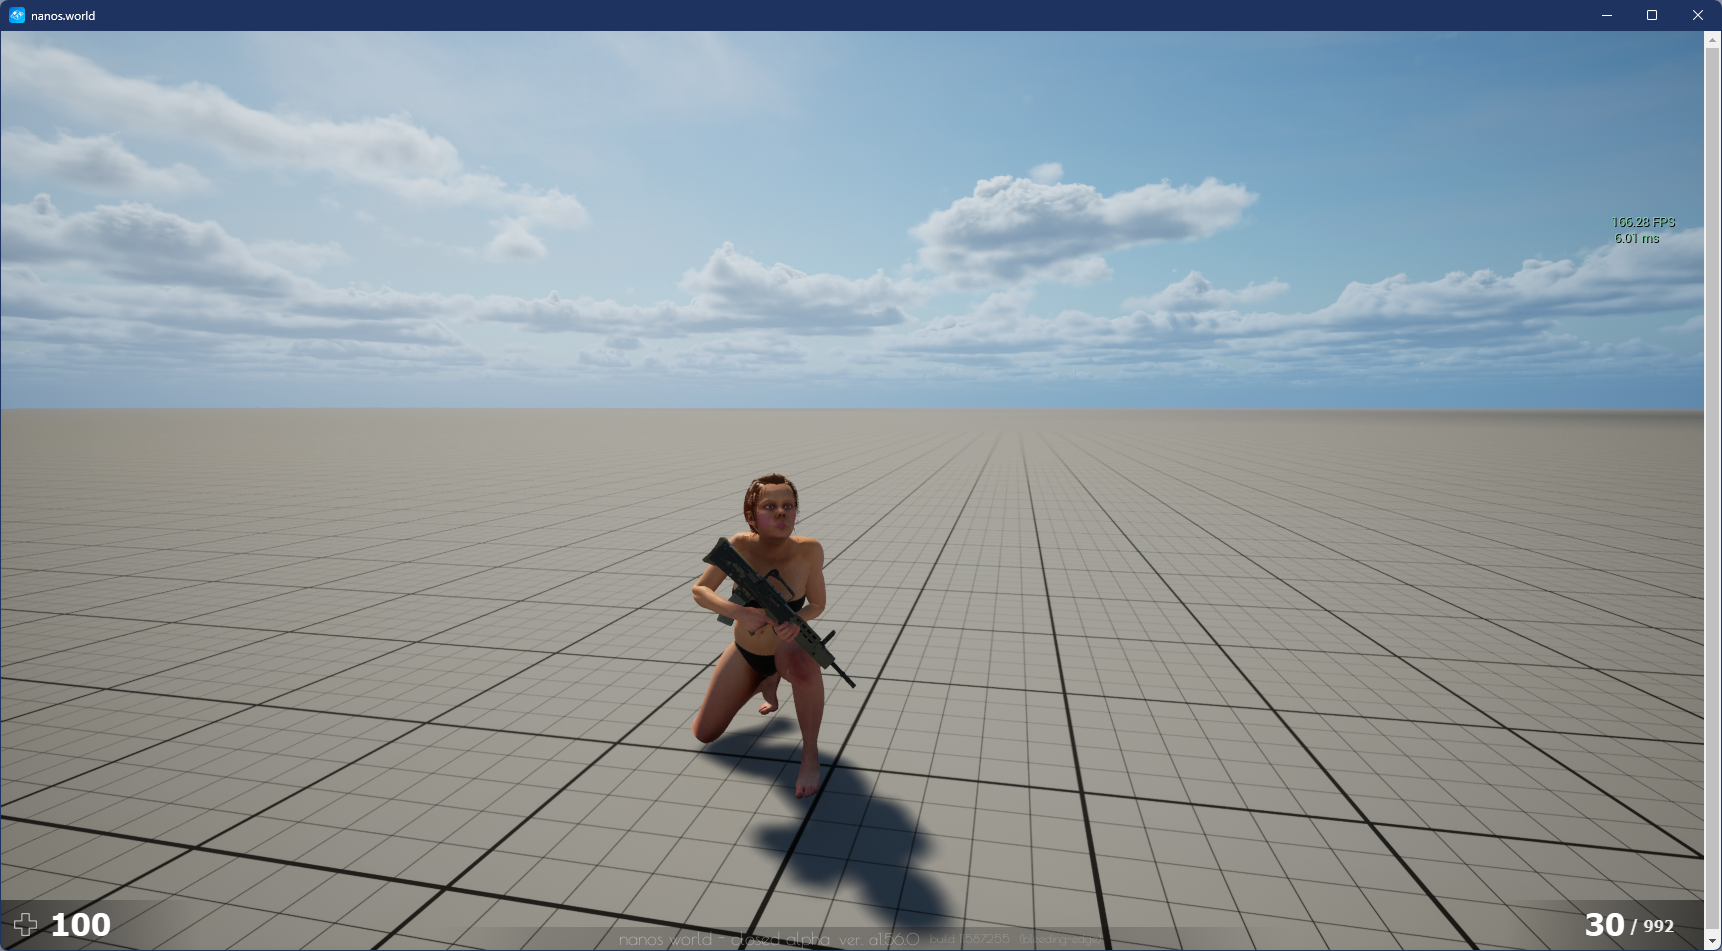
That's it! Your React Web UI is now integrated into nanos world and ready to use. Feel free to use this example in your own project :)